Import
-
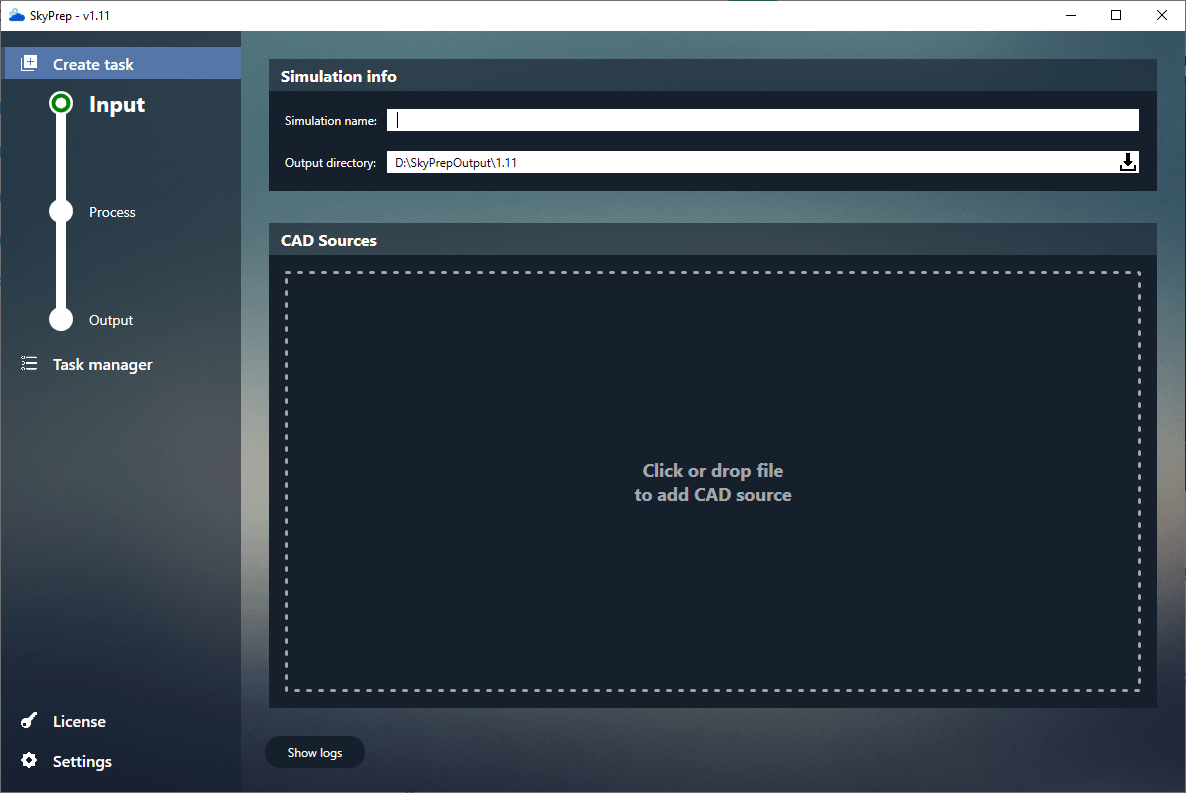
Set the Output directory using the Browse icon
 located to the right of the input bar
 -
Click CAD Sources box to browse your CAD files, or drag & drop your files directly.
If you add a product file, you must not add the child part files.
You can add several CAD files to bring them all in the same scene. Be aware that if two products are added, they will share the same origin, which can make some parts overlap. -
If the simulation name does not suit you, you can change it. Be aware that if you give a new simulation the name of an already existing simulation, the latter will be overwritten (SkyPrep will not inform you that a simulation with that name already exists)
-
Once you have added a file, you can also edit some options by clicking on the Edition button
 . The following window should open:
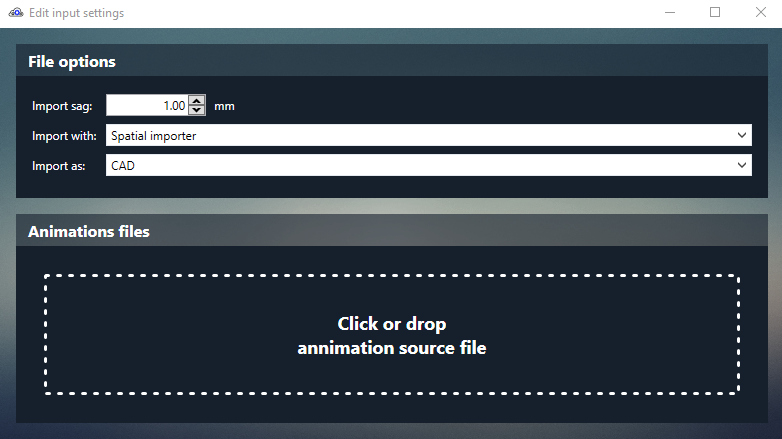
You can:
- Set the Sag of the product
- Set the importer for CATIA files (Spatial importer (default) / CATIA importer)
- Set the category (CAD / Tool / Environment)
- Add an animation file (see Delmia import)
-
When you are done click "Next" at the bottom right of the screen