Environments panel
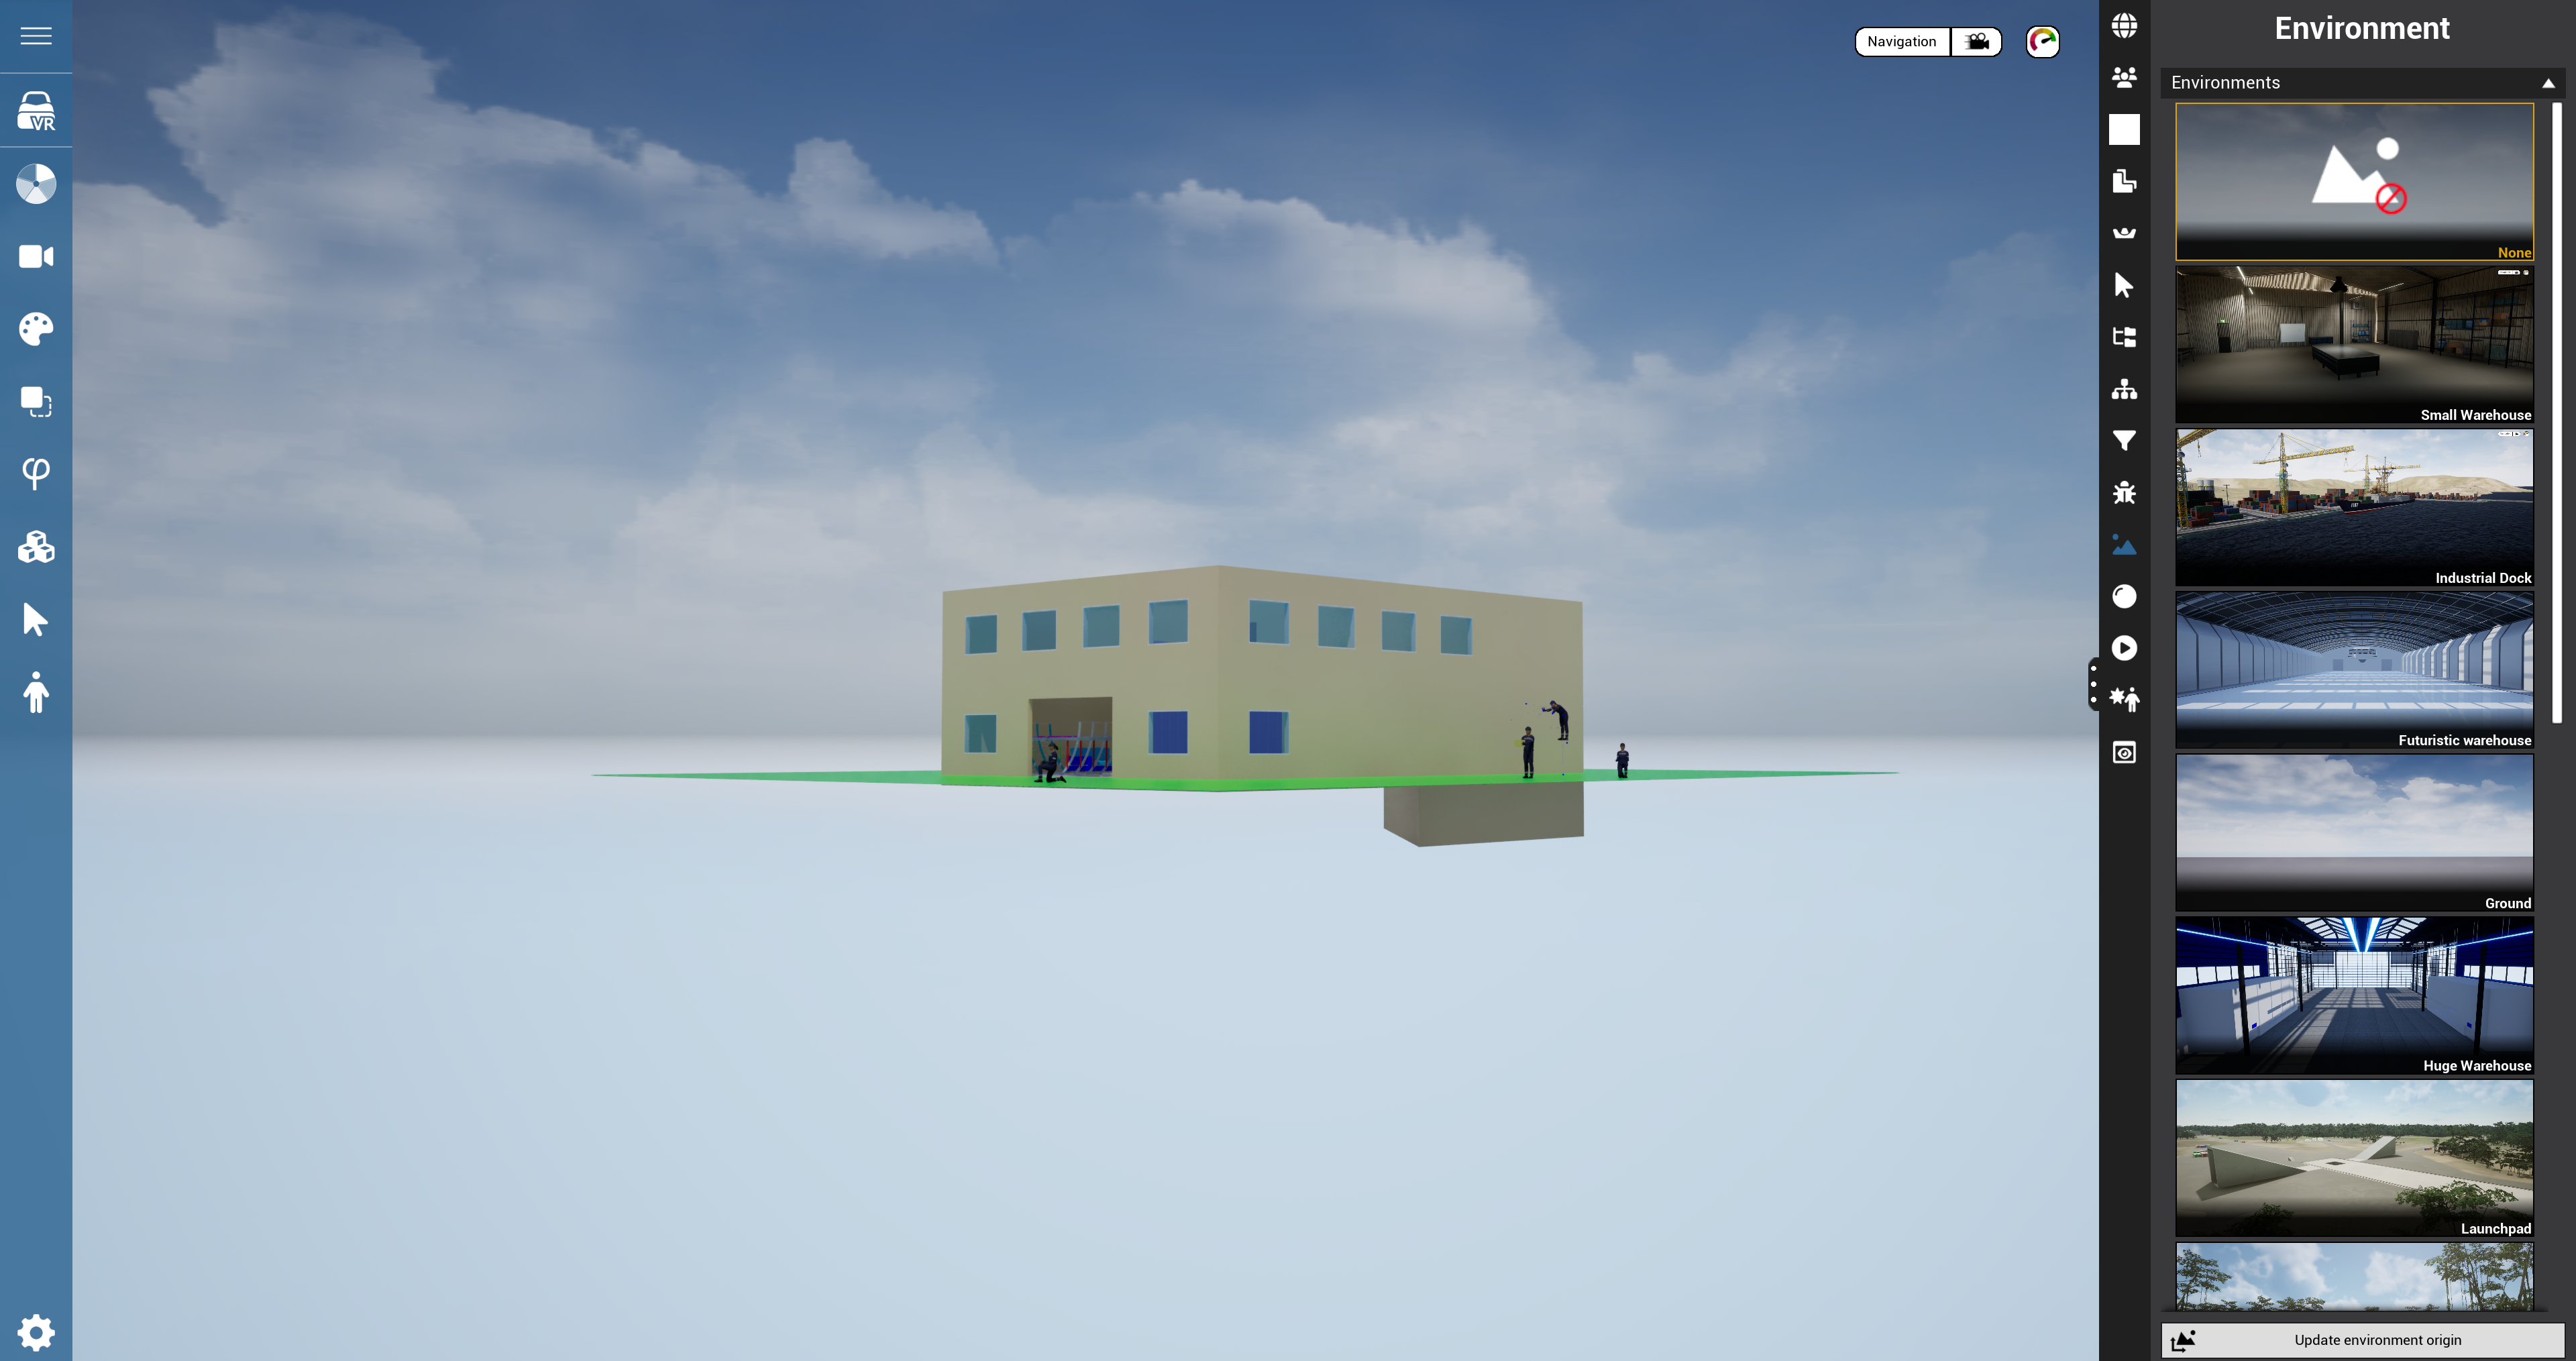
To make your experience more realistic and immersive, you can modify the environment of your experience. This environment includes everything surrounding your CAD model that is not part of the experience hierarchy tree, such as the sky or the floor appearance. In the the eleventh tab of the right menu you can access to the environment command pannel.

Environment Panel
The environment panel is divided in 3 parts. Each part has its own specific function.
STEP 1: Select your environment

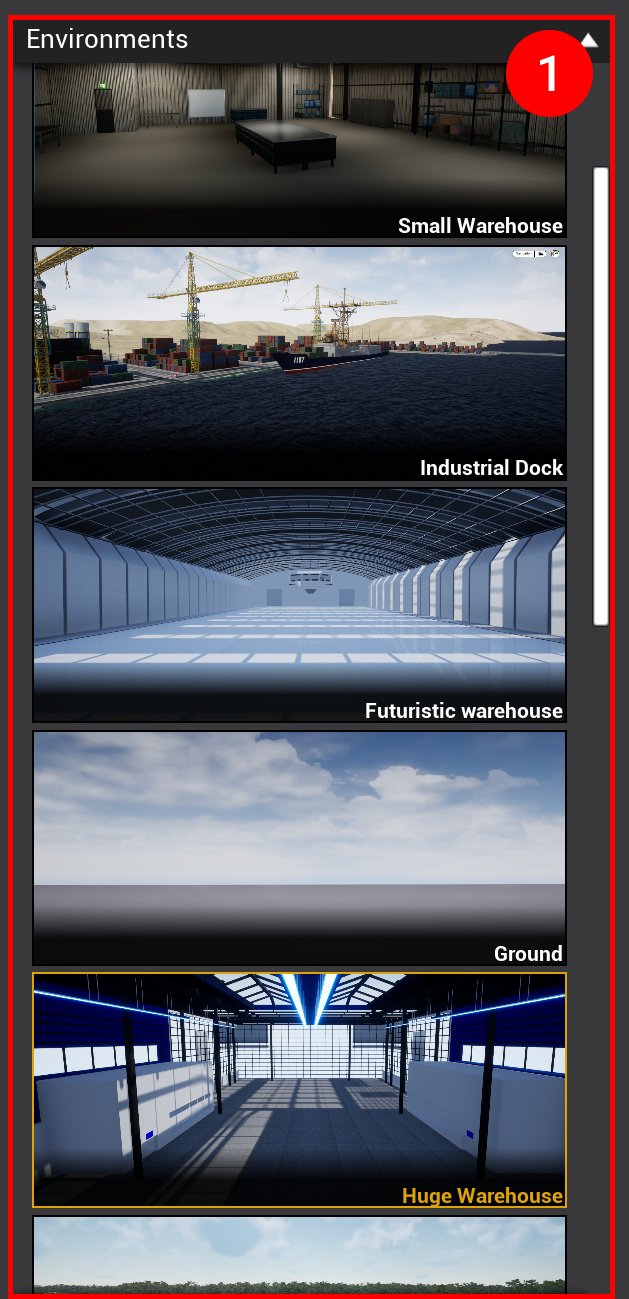
First of all, you can select which is the environment that fits the better to your experience. To select an environment, click on the corresponding thumbnail. By default, your experience has the "None" environment, it is Unreal's default environment.
List of every environment: Small Warehouse, Industrial Dock, Futuristic Warehouse, Ground, Huge Warehouse, Launchpad, Nature, Cloud, Space, Tarmac, Train Station, Train Yard, Warehouse and Water. You can also had your own environment: Environment Open4services.
STEP 2: Update environment origin

To position your CAD model in a specific location within your environment, you can use the Update Environment Origin command (link to VR documentation). This command spawns a compass at the center of your environment, allowing you to redefine its origin.
STEP 3: Set parameters of the selected environment

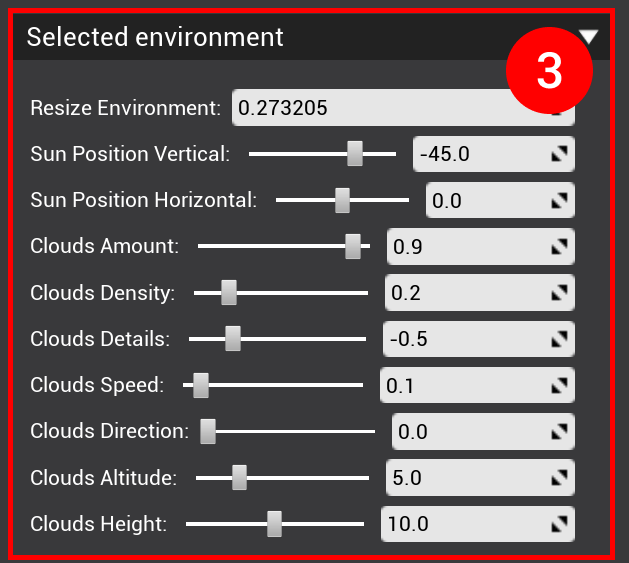
In the third section of the environment panel, you can adjust the parameters of the selected environment. These parameters can influence the lighting and overall appearance. While some lighting parameters, like sun position, are common across all environments, each environment also has unique settings.
For example:
- In the cloud environment, you can adjust the cloud speed.
- In an environment featuring a warehouse, you can resize the warehouse.