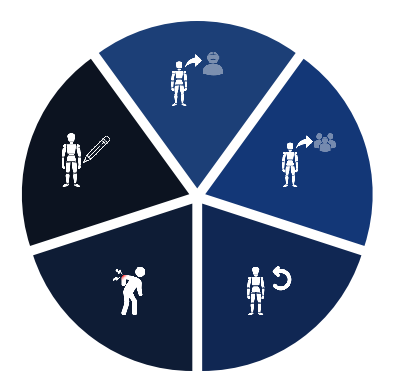
Edit Manikin Command
The Edit Manikin command allows you to spawn static manikins into your simulation. These manikins can then be edited directly in VR to adopt a certain position.
This command is useful as it allows you to simulate where people might interact with the real-life version of your simulation. You can also simulate any position which they might need to take by editing the manikins that you spawn.
The Edit Manikin command can be accessed from the default Manikin sub menu:

Edit manikin
Upon activating this command, you will be able to edit already existing manikins or spawn new ones.
To spawn a manikin, press and hold your controller's trigger. A manikin will appear, attached to the end of your controller's laser. Aim your laser at the location where you wish to place a manikin, and release the trigger to spawn it.
You will now be able to edit the spawned manikin, using the following buttons displayed below it:
-
 While aiming your laser at the Grab button, press and hold your controller's trigger. You will be able to reposition the manikin wherever you want.
 -
While aiming your laser at one of the two circular arrows, press and hold your controllerss trigger to rotate the manikin clockwise/anticlockwise (depending on the selected arrow). Release the trigger once you have reached the desired rotation.
-
 While aiming your laser at the Incarn button, press and hold your controller's trigger to incarn the manikin. You will be teleported inside the manikin's skin, hence adopting its point of view and being able to move its hands and arms, as well as any other tracked parts of your body. When you release the trigger, the manikin's body will remain in the last position that you were at.
 -
 While aiming your laser at the Control button, press and hold your controller's trigger to control the manikin. The manikin's movements will follow your own movements. When you release the trigger, the manikin's body will remain in the last position that you were at.
 -
You can move individual parts of the manikin's body by aiming your laser at a node attached to it (white boxes and spheres), pressing and holding your controller's trigger and moving your controller. This will move a specific part of the manikin's body, attached to the moved node.
When you select a node, 3 new buttons will appear under the manikin:
 Clicking the Toggle rotation button will allow you to rotate the selected node when moving it.
 Clicking the Next transform button will generate rotations axis attached to the node, which you can use to manually rotate it (this works in the same way as the Compass manipulation command). This rotation method is more precise.
 Clicking the Reset node button will reset the selected node to its default position.
 -
You can change the appearance of the manikin by:
 Clicking the Next human button, which allows you to change the sex and color of the manikin.
 Clicking the Next prop button, which allows you to add props to the manikin.
Bracelet actions
Starting the edit manikin command, the bracelet is automatically opened on the command tab. If a node of a manikin is selected you can see the following action in the bracelet:
- Remove node: release the selected node constraint.
The other manikin buttons (on the ground) will be migrated in the bracelet later.
The bracelet also contains all the MSDs functions.