Merge experiences
If you prepared two experiences with the editor output, you can merge them manually using Unreal Engine.
Project preparation
Open both projects
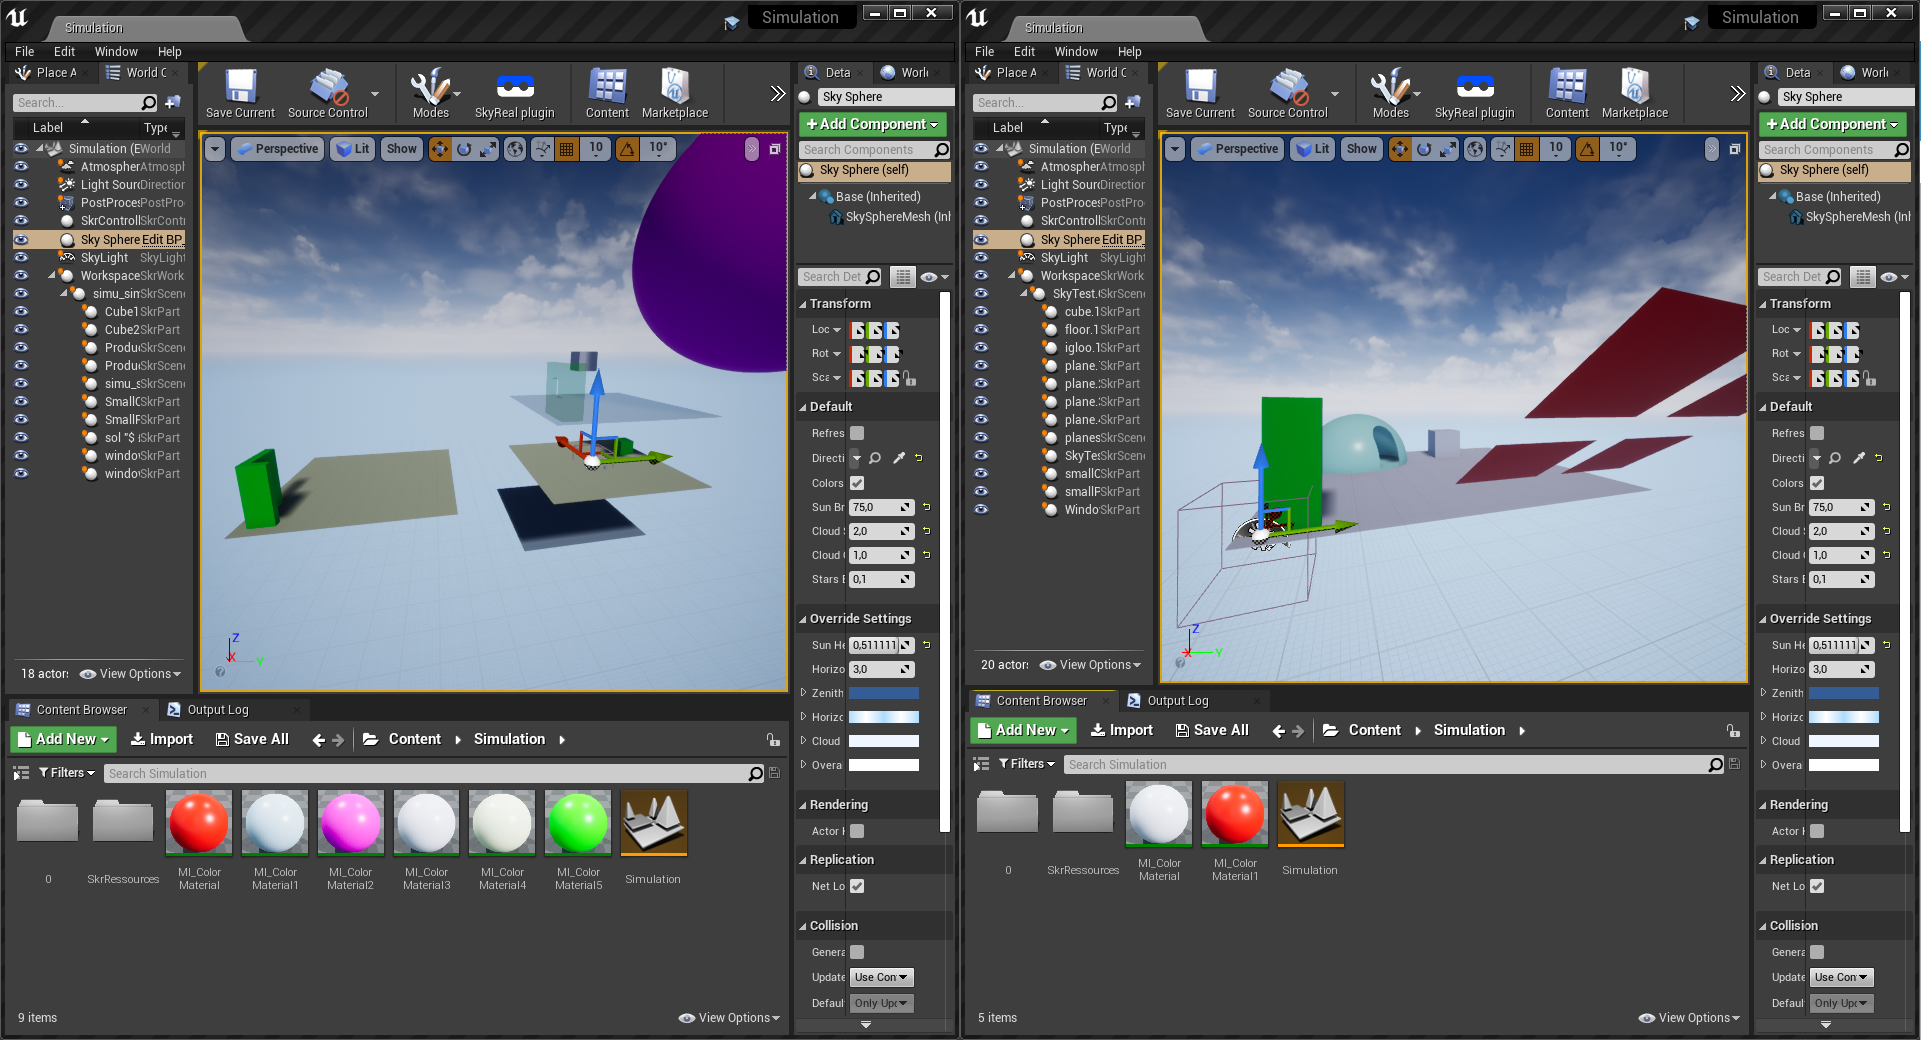
The goal is to migrate the content of a project to the other one. To avoid name conflicts you must:
-
Rename static meshes folders. There is one folder containing static meshes by scene imported in SkyPrep (most of the time only one scene is imported). You must change their names with new ones not existing in the other project.
-
Move materials. Same problem with the materials, you must move them in a dedicated folder to avoid name conflicts in the other project. So you must create a new folder and move all the materials inside.
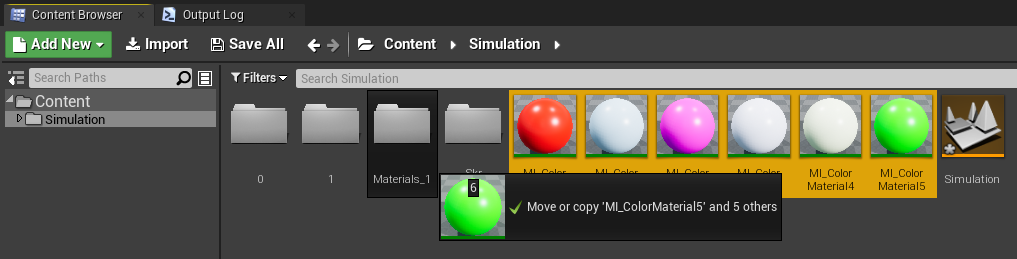
Once it's done you see that the original folders remain in the Content Browser. This is because Unreal creates redirectors at the previous location of the moved files. (redirectors are links toward the moved files to avoid breaking references in the actors.)
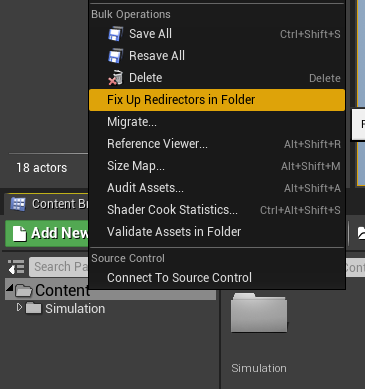
To remove the old folders and update actors references you must use the Fix up all redirectors function. However it is a dangerous command that often leads to crashes or map corruption!
So let's take some precautions:
-
Save your map (the * must disappear from the asset).
-
Duplicate the map.
-
Load it (double click on it).
-
Fix up all redirectors on the Content folder.
If the old simulation has been corrupted (automatically removed by Unreal) you are safe on your new map. Optional: If both maps are still their you can keep only one of them.
Finally, if your map is still named Simulation you must rename it.
Assets migration
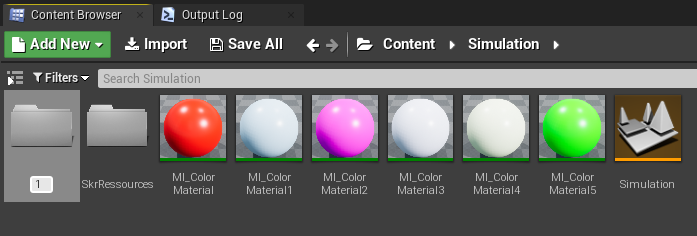
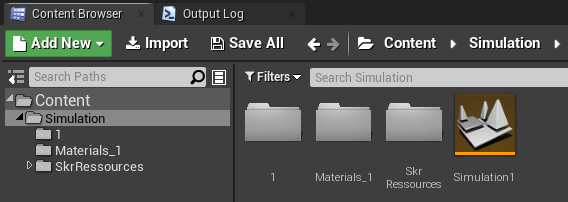
Now you are ready to migrate the assets. Your Simulation folder should look like this (plus eventual static mesh folders):
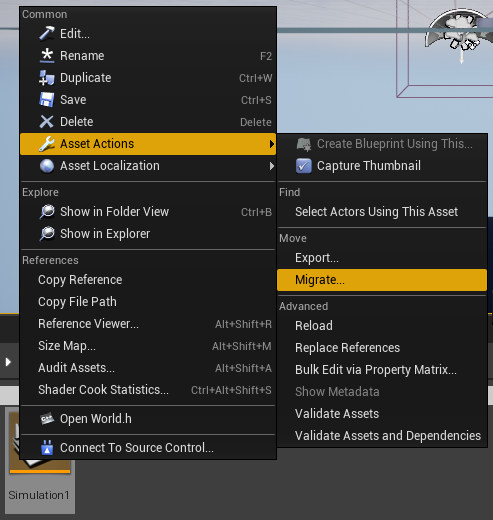
Select the map and execute Asset Actions -> Migrate...
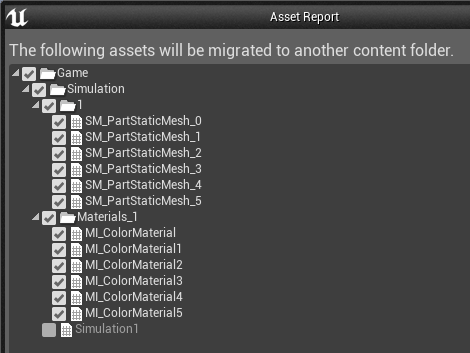
You can unselect the map in the asset list, we only need the static meshes and the materials. Then press ok.
For the destination of the migration you must choose the Content directory of the other project.
You should see Content migration completed successfully!
Actors migration
This is the easiest part. You just need to copy the scene and all its actors from one project to the other one.
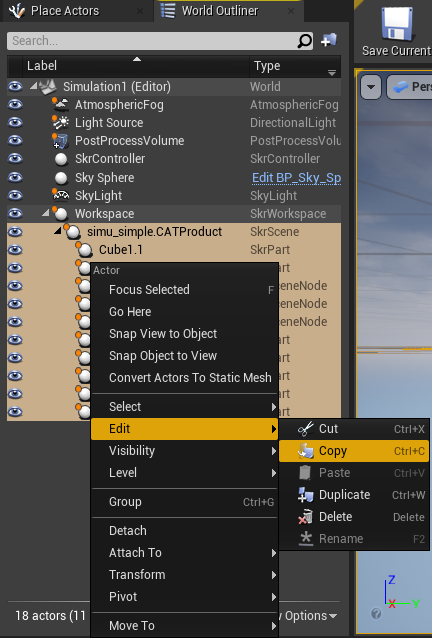
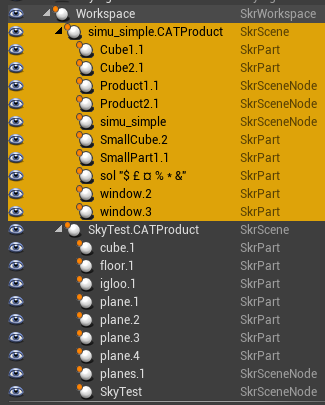
Select all the SkrScene in the World Outliner (Most of the time you have only one scene). Then use Ctrl + Shift + D to select all the descendants. Then copy them all.
Finally, go to the other project, click on the SkrWorkspace and paste.
Done!