Animations with Blueprints
Creating animations with blueprints means using blueprints to change the parts transform. You will be able to increment parts positions and rotations and move parts to a specific position.
You can choose to work in the Level Blueprint, you will be able to manage every SkrPart easily; or you can create an Actor Blueprint, it will behave as a single SkrPart in which the staticMeshes will be animated.
Level Blueprint
Only Level Blueprint will be detailed since both methods are quite similar.
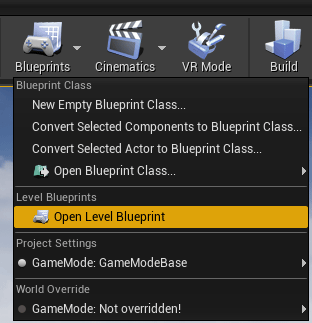
First you need to open the Level Blueprint interface.
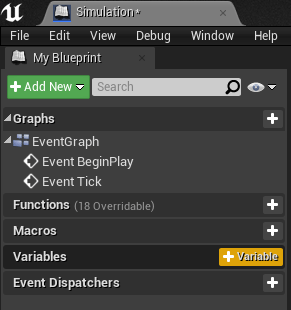
Then you need to reference your SkrPart in the level blueprint. Add a variable and set its type to Skr Part.
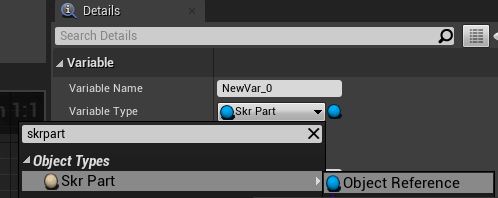
Click on the compile button. Now you can choose the default value of your variable in the details. Choose the SkrPart you want to animate.
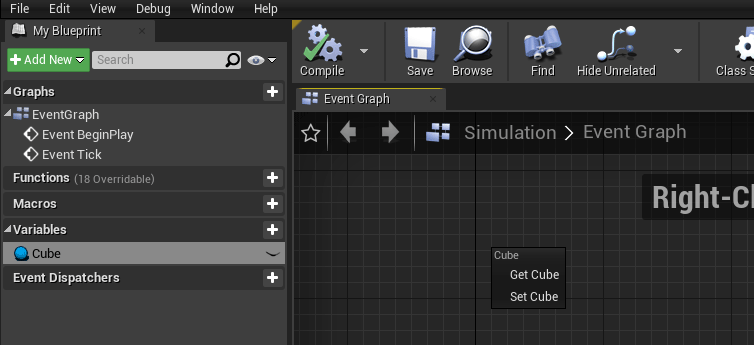
You can drag and drop your variable in the Event Graph and get it.
Blueprint Actions
Drag the blue pin to access the functions. You can use the following functions to update your SkrPart transform:
| Local axis | World axis | |
|---|---|---|
| Increment | AddActorLocalOffset AddActorLocalRotation AddActorLocalTransform | AddActorWorldOffset AddActorWorldRotation AddActorWorldTransform |
| Absolute position | SetActorRelativeLocation SetActorRelativeRotation SetActorRelativeTransform | SetActorLocation SetActorLocationAndRotation SetActorRotation SetActorTransform |
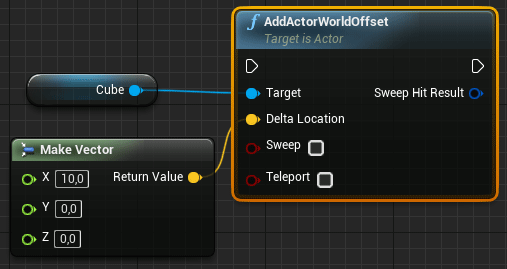
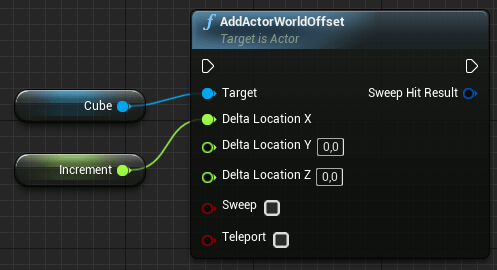
For instance this picture uses an AddActorWorldOffset action. To set the Delta on an axis you can make a vector or right click on the Delta location pin and select Split Struct Pin to set each axis value (using a variable).
Trigger
This action will not work on its own, you need to trigger it with an event. This can be achieved using a controller event, all the time using the Event Tick, or using any custom event. (see events)
Here, when grip button (the one inside the controller, under your middle finger) is pressed the part moves 50 centimeters along Z axis.
